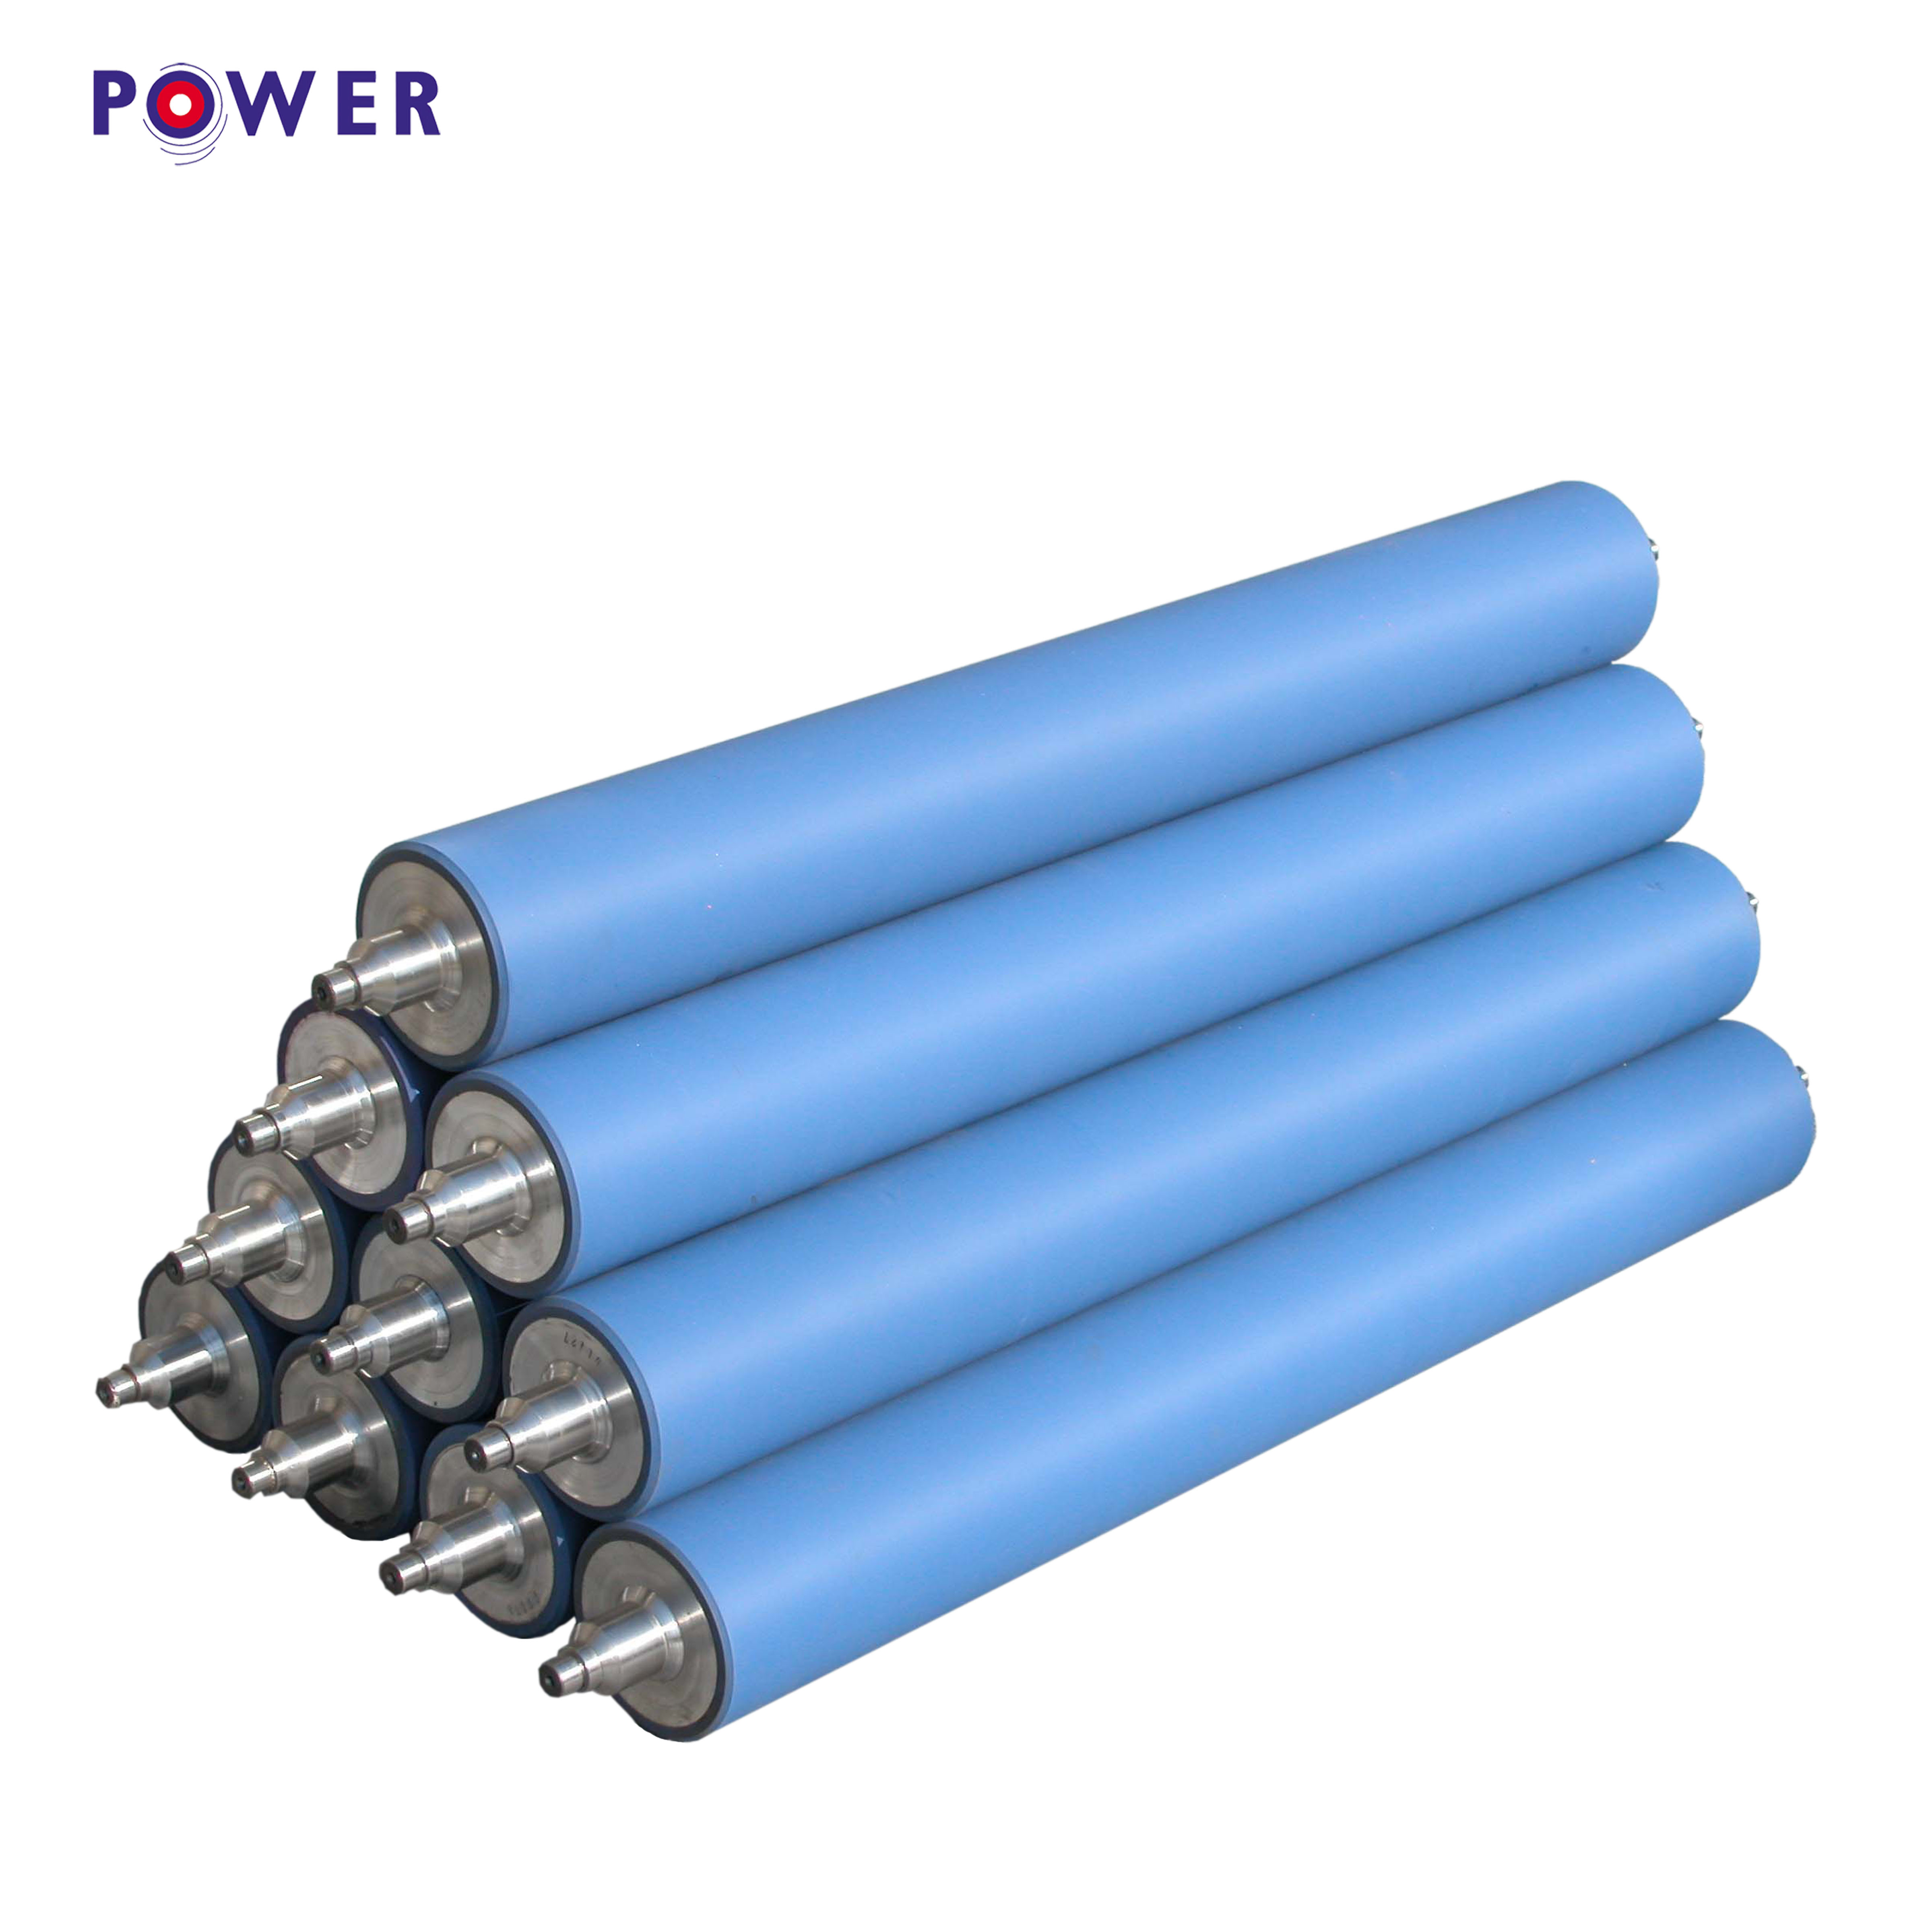
How to properly install, replace and clean the rubber roller
 In the process of imprinting, many friends have encountered the problem that the machine cannot operate normally due to the lack of correct installation and maintenance of the imprinting rubber roller, so how to install, replace and clean it correctly.
1. Installation of embossing rubber roller
A.According to the width of the printing material, select the pressing roller;
B.Clean the selected pressing roller on the rack with shredding steps and solvent;
C.Touch the surface of the pressing roller with your hand quickly and laterally to check the flatness of the roller surface;
D.The two of them work together, lift the pressure roller that has passed the inspection, transport it to the installed color seat, install it into the concave card position of the fixing frame, and tighten the fixing screw.
Precautions:
A.The width of the pressure roller should be smaller than the width of the printing material
B.The pressure rollers with concave protrusions, severe swelling, cracks and bearing necrosis found in the inspection cannot be used on the machine
C.During the installation process, it is strictly forbidden to collide and scratch the surface of the roller.
2. Replacement and cleaning operations of the embossing roller
A.The two people work together to loosen the fixing screws at both ends of the pressure roller;
B.Grasp the two shaft ends of the pressing roller by hand, pull out the pressing roller and lift it up, transport it to the pressing roller placement area, and put the pressing roller on the storage rack;
C. Clean the removed pressure roller with a clean soft cloth and solvent.

